Flowcharts (when done right) are an excellent way to document processes. So let’s learn how to do them right!
The main goal of a flowchart is to document each step in a process and the chronological flow between the steps. Additional goals include showing step ownership (i.e. who completes the step), step characteristics (e.g. is the step automated or manual?), and decision points.
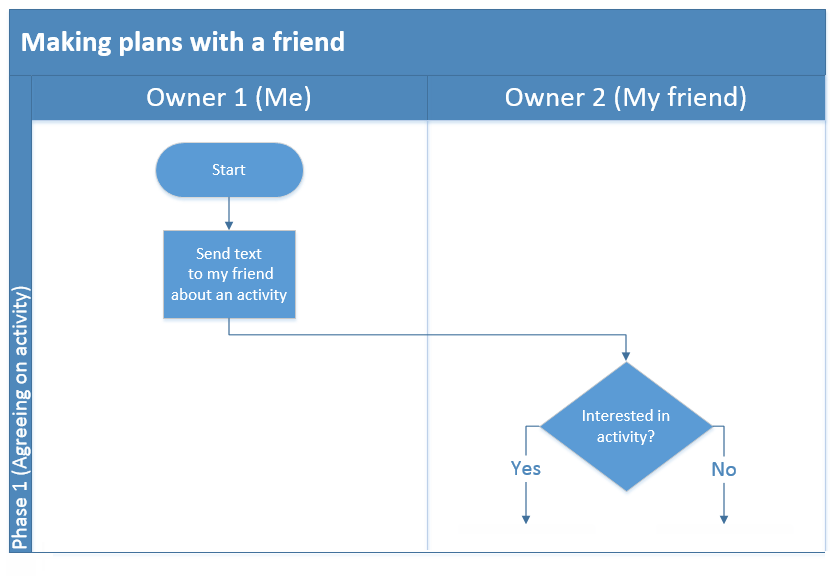
Below is a step-by-step (get it?) guide for building a good flowchart. If you’re new to flowcharts, start by completing the steps below for a simple process you know well, such as making plans with a friend. Then graduate onto complex processes, such as integrating third-party procurement platforms for enterprise customers. #synergy #jargon
Step 1: Pick a flowchart platform
Flowcharts can be made with pencil/paper, Visio (the industry standard), or LucidChart (a free alternative). In this example, I’m using Visio.
Step 2: Define the boundaries of your process
Ask yourself:
What process am I mapping?
In my case, “Making plans with a friend.”
What aspects of the process am I choosing to ignore?
In my case, the process of building the friendship in the first place.
Step 3: Map out the basic steps

Use rectangles to represent process steps.
Add text inside each rectangle to explain the step.
The text should always start with a verb.
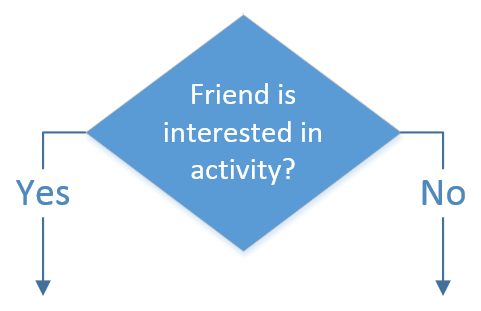
Add diamonds to represent decision points.
There should be at least two possible outcomes from each decision point.
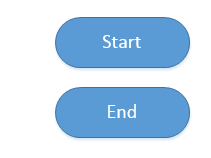
Use ovals to represent the start and end of the process.

Align the steps and decisions so that the chronology of events flows downwards.
The first step in the process should be at the top of the page, and the last step at the bottom of the page.
Add connective arrows to show the flow of events.
Step 4: Add swim lanes
As you continue to add and modify the steps in your flowchart, add in swim lanes. Vertical swim lanes are usually used to represent ownership (i.e. who executes the step). Horizontal swim lanes are usually used to represent phases (i.e. what stage in the process you’re in).
Note: The more frequently you have arrows crossing between vertical swim lanes, the more delays your process will probably have. Keep this in mind if you’re trying to improve a preexisting process.

Step 5: Add important details
Once your process is thoroughly mapped out, you can call out important details, such as which steps are automated or when there could be exceptions to the process flow. This can be done by using different shapes or colors. Be sure to create a legend at the top.
Step 6: Use and share
Now you have a fully-functional flowchart!
Use the flowchart to remind yourself of how your process works, to assess how it could be improved, or to teach it to another team member.
———————
Action items:
〉 Create a flowchart by following the steps above.
〉 Consider: How could I represent this process more clearly and effectively?
〉 Consider: How could I improve this process, so it runs more efficiently?


